Bring the warm, cozy aroma of the holidays to your skincare routine with these adorable DIY Gingerbread Lotion Bars. Made from natural ingredients and scented with a festive blend of essential oils, these bars make thoughtful gifts or a luxurious treat for yourself. With no artificial colors, they’re as wholesome as they are delightful.

Ingredients Needed for DIY Gingerbread Lotion Bars
To create these holiday-inspired lotion bars, you’ll need the following:
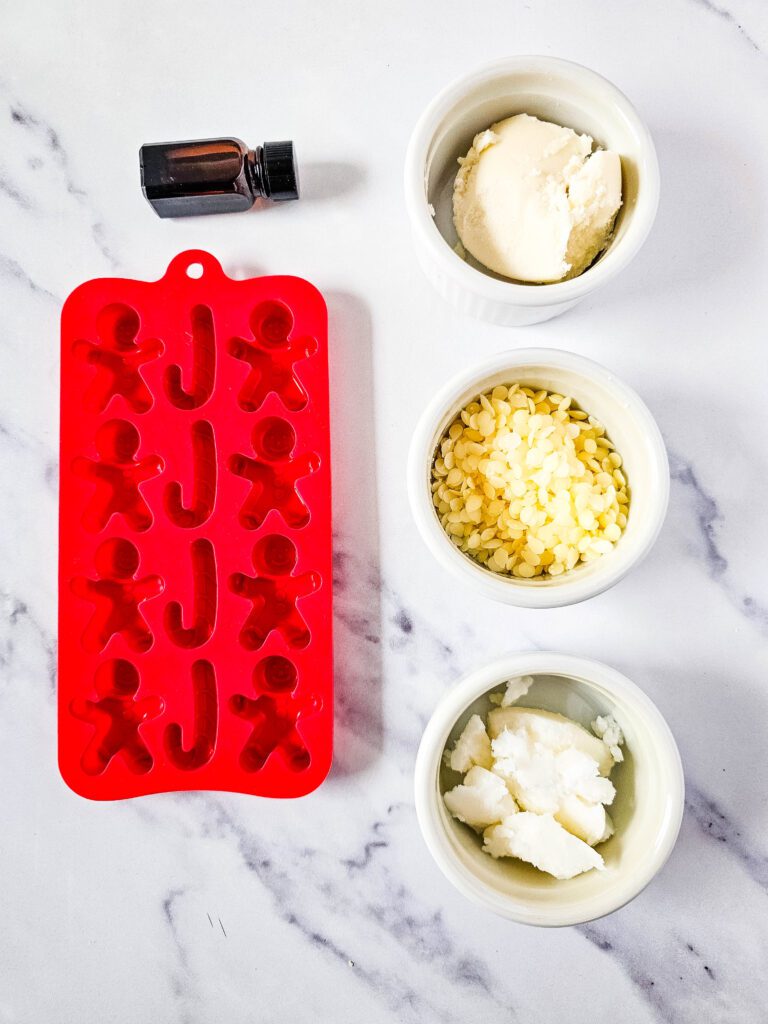
⦁ 1.5 oz African Shea Butter: Known for its deeply moisturizing properties.
⦁ 1.5 oz Coconut Oil: Adds a silky texture and nourishes the skin.
⦁ 1.5 oz Beeswax Pellets: Helps solidify the lotion bars and locks in moisture.
⦁ Essential Oil Blend:
⦁ 8 drops Ginger Essential Oil
⦁ 6 drops Nutmeg Essential Oil
⦁ 4 drops Clove Essential Oil
⦁ 4 drops Vanilla Essential Oil
⦁ 2 drops Bergamot Essential Oil
⦁ 2 drops Cinnamon Essential Oil
⦁ 2 drops Orange Essential Oil
⦁ Gingerbread Soap Mold: Adds a fun, festive touch.
💡 Tip: Use high-quality essential oils for the best scent and skin benefits.
Step-by-Step Instructions for DIY Gingerbread Lotion Bars
⦁ Melt the Ingredients: In a double boiler, combine the shea butter, coconut oil, and beeswax pellets. Stir occasionally until completely melted.
⦁ Add Essential Oils: Remove the melted mixture from heat and stir in the essential oil blend. Mix thoroughly to ensure even distribution.
⦁ Pour into Molds: Carefully pour the mixture into the gingerbread-shaped soap molds.
⦁ Set and Cool: Allow the bars to set at room temperature for 20 minutes, or place in the refrigerator for faster cooling.
⦁ Unmold and Store: Once solidified, gently pop the lotion bars out of the molds. Store in an airtight container in a cool, dry place.
Why DIY Gingerbread Lotion Bars Are Perfect for the Holidays
These lotion bars are the ultimate holiday multitasker: they’re practical, smell amazing, and add a personal touch to your gift-giving. Whether you’re creating stocking stuffers, hostess gifts, or just treating yourself, these bars bring warmth and cheer to the season. Their gingerbread scent evokes holiday memories, making them a hit with everyone who receives them.
Serving Suggestions
While these bars are technically not edible, they’re “served” best as part of a holiday self-care routine. Pair them with a cozy spa gift set or a festive card to create a thoughtful gift bundle.
Closing Tips & Storage Instructions
⦁ Customization: Feel free to experiment with the essential oil blend to suit your preferences.
⦁ Storage: Keep your bars in a cool, dry place away from direct sunlight to maintain their shape and scent.
⦁ Extra Tip: Use these bars after a warm shower to lock in moisture for soft, glowing skin.

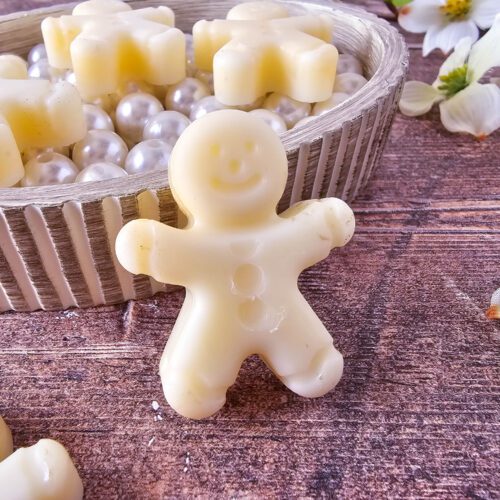
DIY Gingerbread Lotion Bars: Perfect for Holiday Gifting
Ingredients
- 1.5 oz african shea butter
- 1.5 oz coconut oil
- 1.5 oz beeswax pellets
- 8 drops ginger essential oil
- 6 drops nutmeg essential oil
- 4 drops clove essential oil
- 4 drops vanilla essential oil
- 2 drops bergamot essential oil
- 2 drops cinnamon essential oil
- 2 drops orange essential oil
- Gingerbread Soap Mold
Instructions
- Melt the Ingredients: In a double boiler, combine the shea butter, coconut oil, and beeswax pellets. Stir occasionally until completely melted.
- Add Essential Oils: Remove the melted mixture from heat and stir in the essential oil blend. Mix thoroughly to ensure even distribution.
- Pour into Molds: Carefully pour the mixture into the gingerbread-shaped soap molds.
- Set and Cool: Allow the bars to set at room temperature for 20 minutes, or place in the refrigerator for faster cooling.
- Unmold and Store: Once solidified, gently pop the lotion bars out of the molds. Store in an airtight container in a cool, dry place.


